Watering and garden soil: 10 Irrigation techniques to use in your home garden
03/22/2022 / By Zoey Sky
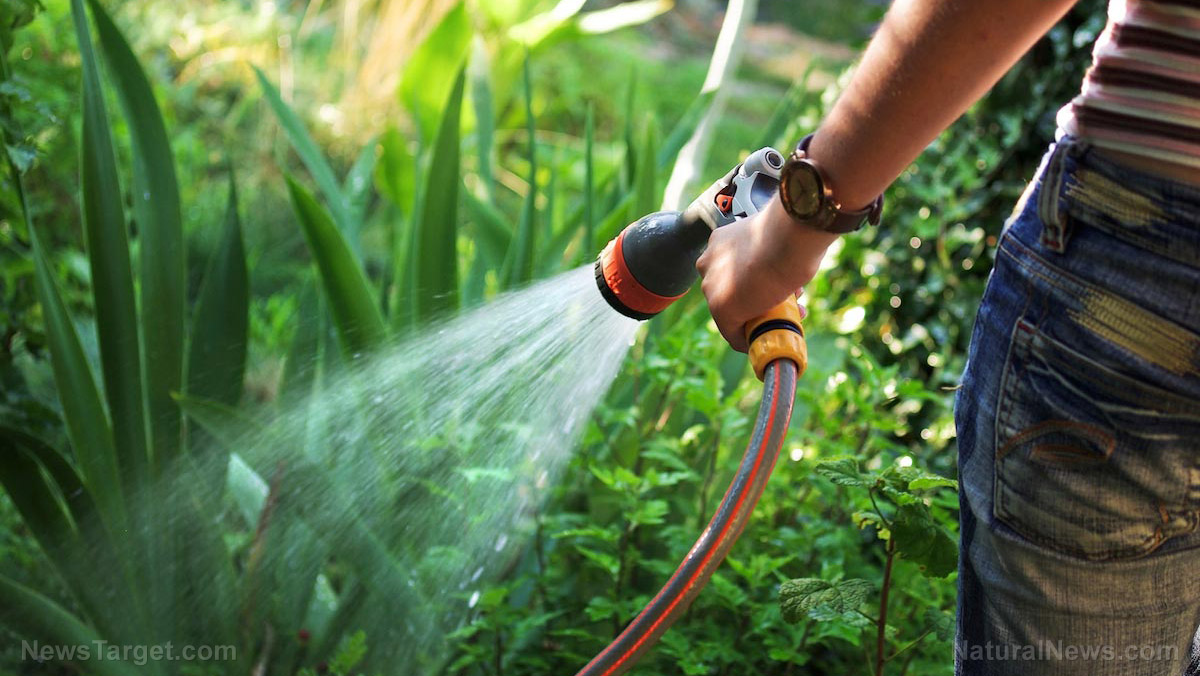
Managing a homestead can be tiring, especially if you have a large garden.
To make things easier for yourself when it’s time to water your plants, use an irrigation technique that suits your gardening needs. (h/t to TheGrowNetwork.com)
Automated irrigation techniques
Here are some automated irrigation techniques to try in your garden or homestead:
Drip tape
Drip tape is the most affordable and easiest form of irrigation, making it suitable for beginners.
Drip tape is a pipeline with a dripper manufactured inside the pipeline. It is a thin-walled tube, hence the name, instead of a structure pipe. Drip tapes have a common wall thickness of around 0.2mm (8mil).
It’s best to use drip tape in market gardens or rows of crops because the tape is a low-pressure and low-flow system with evenly spaced emitters built into the tubing.
When it’s time to plant, roll out the drip tape near the root zone of the plants. Since the water emission rate is very low with drip tape, this method can be used in short runs for low water pressure systems.
Drip tape will last one to two years in the ground.
Drip line
Drip line is an improvement over drip tape. Buy drip line with built-in emitters spaced at six, 12, 18, or 24 inches apart. Alternatively, you can buy solid line and install emitters where you need them.
Note that the amount of pressure you need to run your system varies depending on your final emitter spacing, the length of the system, the diameter of the tubing used, the slope of the land and other factors.
If you use a quality drip line and cover it with mulch, the system can last for at least seven years. However, it’s more expensive compared to drip tape and requires greater water pressure to work.
Both drip tape and drip line have the same downside: They only water plant roots and not all of your soil.
Soaker hoses
Soaker hoses are a better option if you want to water your entire body of soil, but they require high pressure to work well.
You might need big gravity gains or a gas-powered pump to achieve sufficient pressure. Additionally, soaker hoses are entirely permeable, making them prone to tearing.
Soaker hoses will also degrade quickly in certain climates and soils. They clog easily if you’re using water that isn’t properly filtered.
Sprinkler systems
Sprinkler systems aren’t as commonly used because they are inefficient at delivering water to the root zones of plants.
When the water droplets hit the soil with the force of gravity, they can cause fungal pathogens to bounce up and hit the undersides of plants, which can result in increased fungal problems. Note that sprinkler systems require high water pressure.
Off-grid alternatives
Adapt the four methods above for off-grid irrigation using gravity-fed water systems or solar- or wind-driven pumps.
You will need to plan sufficient pressure, filter debris from natural water sources, and learn how to do maintenance for an off-grid automated irrigation system/ (Related: From animal care to gardening hacks: DIY PVC projects for your homestead.)
Semi-automated irrigation techniques
Here are options to consider if you prefer semi-automated irrigation techniques.
The five-gallon drip irrigation system
You can create a simple, gravity-fed, drip-irrigation system using a five-gallon bucket.
You need .62 gallons of water per square foot of soil to simulate one inch of rain. This means a five-gallon bucket will only water about eight linear feet of garden soil per week.
This technique can be used when you’re starting seeds or transplanting seedlings.
Clay pot irrigation
Another option is to bury hole-filled clay pots in the ground and fill them with water. The water leaches through the porous pots and will keep the surrounding soil moist over time.
This technique is best if you want to keep the soil moist in dry, windy areas. Note that the pots are expensive and have to be removed if the ground freezes in your garden.
Alternatively, you can fill the pots quickly instead of watering the soil slowly. You also don’t have to monitor soil moisture content as frequently compared to hand-watering.
If you don’t have clay pots, you can use wine bottles or glass globes inserted into emitter tips instead.
Self-watering containers
Self-watering planters have watering pans in the bottom; soil and plant roots wick up moisture from them as needed. If you are gardening in raised beds, use this technique on a much larger scale and create self-watering raised beds.
Watch out for root rot if you have shallow beds.
Non-automated watering techniques
If you prefer hand-watering, invest in quality watering cans. You can also make things easier for yourself by catching water in a water source uphill from your garden.
Use a garden hose, a 55-gallon drum and a float valve to deliver water from the irrigation pond to your garden.
Garden hose
During droughts, use a garden hose and deep-water planted beds to keep the soil moist.
To figure out how much water to apply using a hose, you need a timer and a five-gallon bucket. Start the timer as you start filling the bucket, then stop it when the bucket is full.
Five gallons of water will cover about eight linear feet of garden beds, meaning you should water each eight-foot-long by one-foot-wide run for the amount of time it took to fill a five-gallon bucket.
Watering cans
Use watering cans and get water from a 55-gallon drum to fill them. When watering bare soil, water at a rate of a two-gallon can per three linear feet of garden area weekly.
Consider some of the techniques above and use those that suit your watering needs. You should also factor in the size of your garden to make the most of your time and effort while watering. The goal is to ensure that your garden soil feels like a moist birthday cake.
Sources include:
Submit a correction >>
Tagged Under:
clean water, gardening tips, green living, home gardening, homesteading, irrigation, off grid, organic farming, Plants, preparedness, prepper, prepping, sustainable living, tips, urban gardening
This article may contain statements that reflect the opinion of the author
RECENT NEWS & ARTICLES
COPYRIGHT © 2017 GREEN LIVING NEWS

